Hosting this blog on my Raspberry Pi at home

Most websites are hosted on servers with enough computing power to serve millions of requests. However, this website serves only me and maybe a few random subscribers so the number of requests would be substantially much lower. With that in mind, hosting on a low powered and cheap Raspberry Pi would be the most ideal infrastructure. I think hosting this website on a managed cloud would be like using a hammer to drive in a screw.
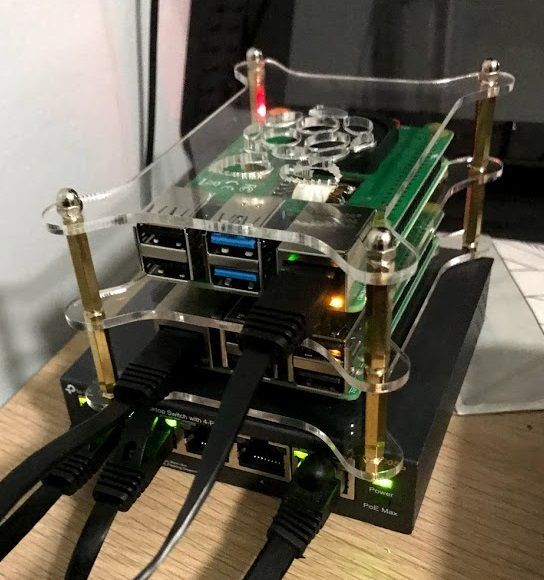
Now let's get into how I set up this site on my spare Raspberry Pi 3 B+. (at some point when I need to scale up, I would probably replace it with Raspberry Pi 4). I chose to use Ghost for this site as it is a very powerful platform.
Setting it all up
Make sure you know how to perform remote development with your Raspberry Pi. For me, I use SSH with Emacs running on the Raspberry Pi. To get a more in depth knowledge on remote development, refer to this blog post.

The following commands are aggregated from the official ghost setup instructions for Ubuntu. Since Raspberry Pi runs on Raspbian (or Raspberry Pi OS now), we have to do a few modifications, mainly on mysql installation.
Installing dependencies
# Update package lists
sudo apt-get update

# Update installed packages
sudo apt-get upgrade

# Install NGINX
sudo apt-get install nginx

# Install MySQL
sudo apt-get install mariadb-server

# Install Node.js
curl -sL https://deb.nodesource.com/setup_12.x | sudo -E bash
sudo apt-get install -y nodejs

# Install Ghost CLI
sudo npm install ghost-cli@latest -g
Installing Ghost
# We'll name ours 'ghost' in this example; you can use whatever you want
sudo mkdir -p /var/www/ghost

# Replace <user> with the name of your user who will own this directory
sudo chown <user>:<user> /var/www/ghost

# Set the correct permissions
sudo chmod 775 /var/www/ghost

# Then navigate into it
cd /var/www/ghost

ghost install
Configuring Ghost
Now that ghost blog is fully installed, we would need to configure it. I left most of the configuration to the defaults, except for the URL which is https://zhijia.hu.sg. Setting it to https will trigger a prompt to install SSL using Let's Encrypt.
Since my Raspberry Pi is running at my home, I had to configure port forwarding on my router to forward public requests to my private IP adress on both ports 80 and 443. This will allow requests to https://zhijia.hu.sg to be forwarded to the server in my Raspberry PI running on the private IP in my home network.
Backup frequently
The downside of a self hosted solution is that we would need to manage our own backups. Currently, I'm using Ghost's experimental feature to export the content out into a json file. (Note that this does not export any images, just pure text). So I would also need to write a script to backup all the images stored in /content/images . All these would be saved into my personal cloud storage.
So in case my SD card fails, I could easily reinstall everything from scratch and import the content back.
Summary
The whole setup of hosting a site using Ghost on my Raspberry PI has been smooth and I would highly recommend anyone to try it out if you have a spare Raspberry PI lying somewhere that needs some loving care.